Reports
Once your configuration is set up and your records are loaded, you can ask Agnes to build reports for you — and share them with your team.
Create Reports
This walks through creating a report from start to finish. For the full editor reference — importing reports, attachments, stopping a generation, and more — see Features → Prompting & Editing.
Step 1: Start a new report
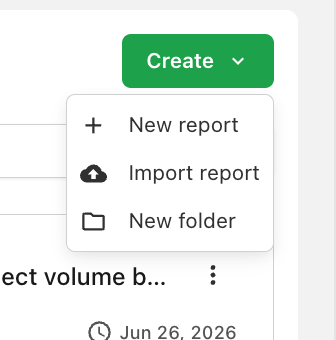
From the All reports page, select Create → New report.
Step 2: Switch to Edit mode
Select the Edit toggle in the top right. This lets you modify the report. Selecting Expanded hides the editing panel so you can view the report on its own.
Step 3: Prompt the report
Describe the report you'd like in plain language. For example:
Create a report of Budgets vs Actuals for each Job.
If you have more than one configuration, you'll need to select which to use here. You can select several — a report can combine configurations from the same source system and product, so you can report across multiple companies or accounts at once. See Prompting & Editing → Connect your data.
For guidance on what to prompt when you're getting started, see Best Practices → Create your First Reports.
Step 4: Watch the report generate
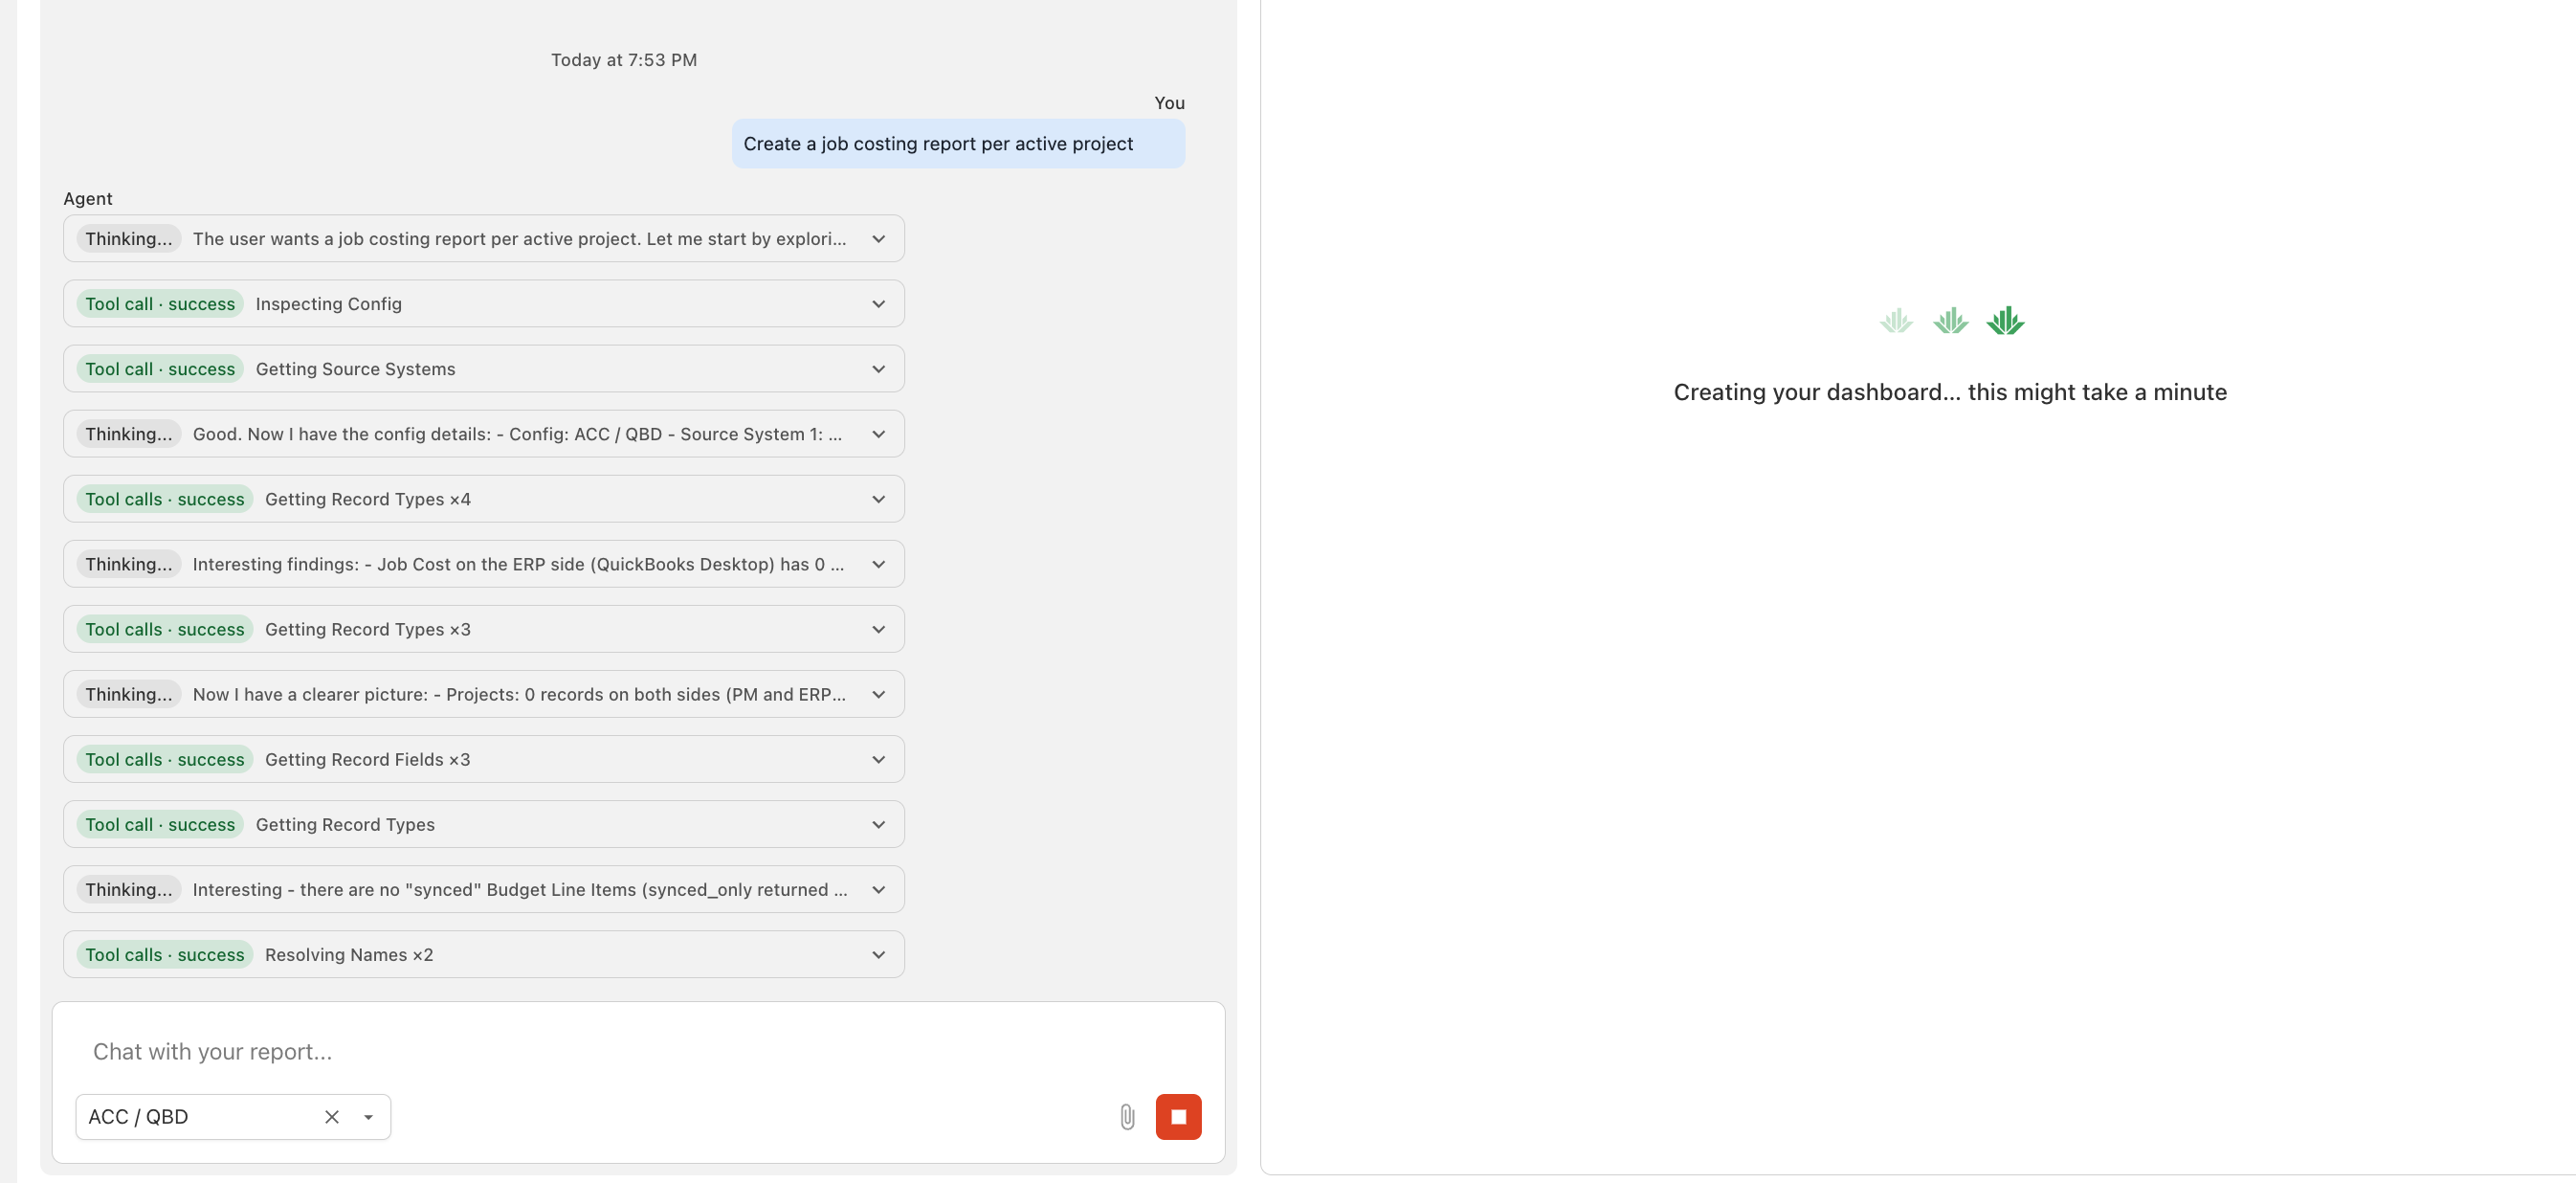
The report will begin generating and appear shortly. On the left, you'll see a series of agent calls — the different tools Agave uses to understand your data and build the report. Agnes creates a first version of the report, which you can refine in later prompts. For a breakdown of what you're seeing, see Prompting & Editing → Watching a report generate.
Step 5: Edit the report
To make changes, simply re-prompt the report with the edits you'd like. Each edit creates a new version of the report — and if you ask a question instead, Agnes answers right in the chat without changing the report. See Prompting & Editing → Follow-up prompts.
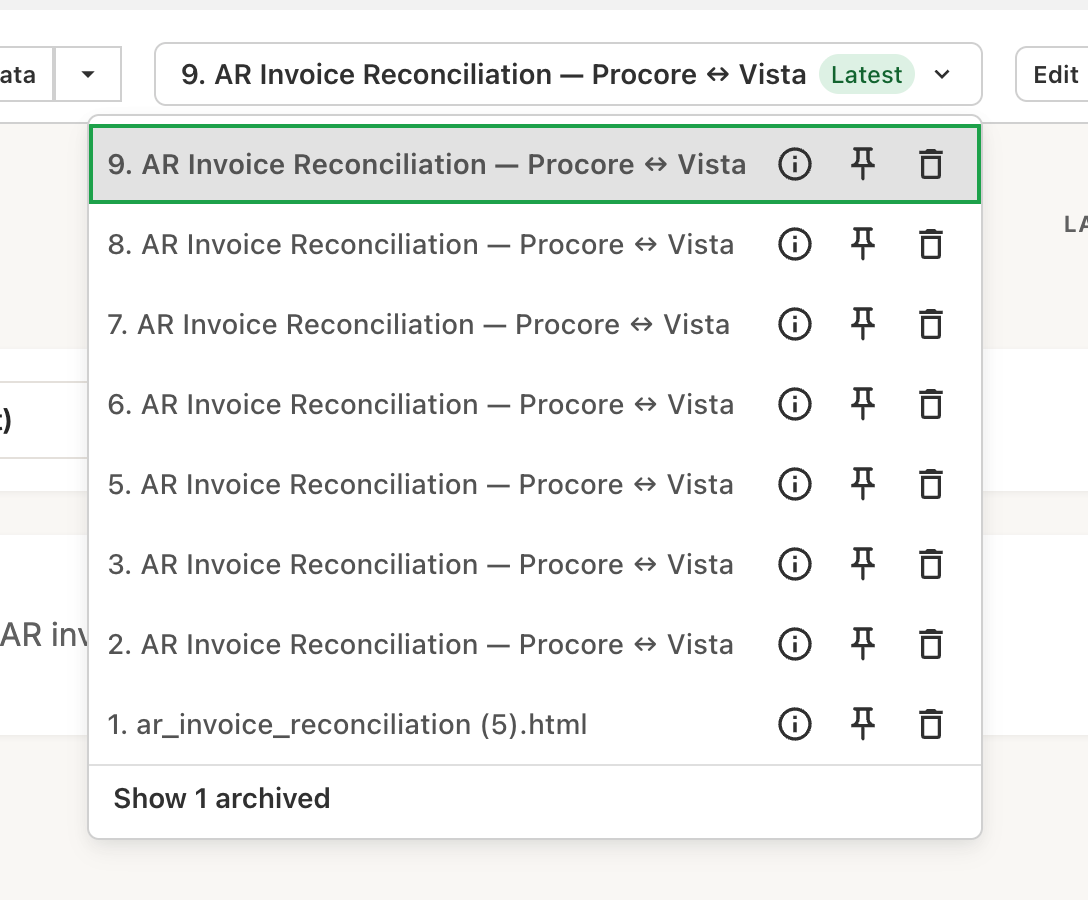
If you'd like to go back to a previous version, select it from the version dropdown — you can pin it as the default, keep editing from it, or archive versions you no longer need. For more detail, see Features → Versions.
Step 6: Finalize your report
Once you're happy with your draft, you can:
- Retitle your report so it's easy to recognize.
- Star it by selecting the ⋯ menu in the top right, so it appears in your personal Starred list. (Stars are private — only you see them.)
- Share it with others — see Share Reports below.
- Organize it into a folder — see Features → Organizing Reports.
Step 7: Delete a report (optional)
If you don't plan to use a report, you can delete it by selecting the ⋯ menu in the top right and choosing Delete. Only the report's Owner can delete it, and deletion is permanent.
Share Reports
To share a report, select the ⋯ menu in the top right and choose Share. Add the people you want to share with, choose each person's role, and press Save. Shared reports appear in the other person's All reports page.
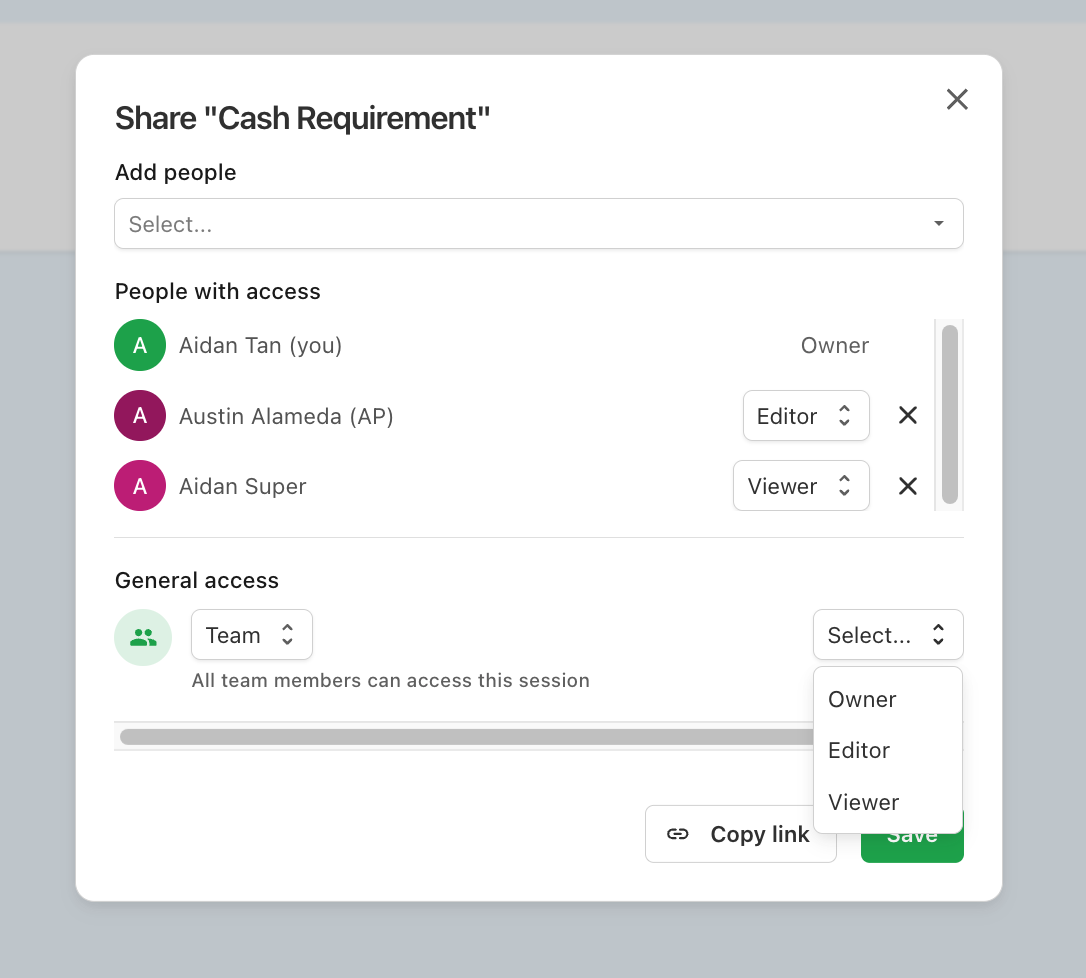
There are three roles:
- Owner — full control, including deleting the report and marking it Official.
- Editor — can edit, re-prompt, and share the report.
- Viewer — can only view the report.
You can also share with your whole team at once using the General access setting. For the full permission model, see Features → Sharing & Permissions.